
How to Clean and Maintain Nail Drill Bits: A Post-Service Care Workflow
Learn how to clean nail drill bits after every service. Remove residue, disinfect safely, dry completely, and maintain smooth, precise salon performance.
A client has just left, and the same nail drill bit is about to touch the next set of nails. Even when it looks clean, it may still hold fine gel dust, acrylic residue, skin particles, or product buildup inside its grooves. Proper nail drill bit cleaning is not simply a matter of dropping every attachment into the same liquid.
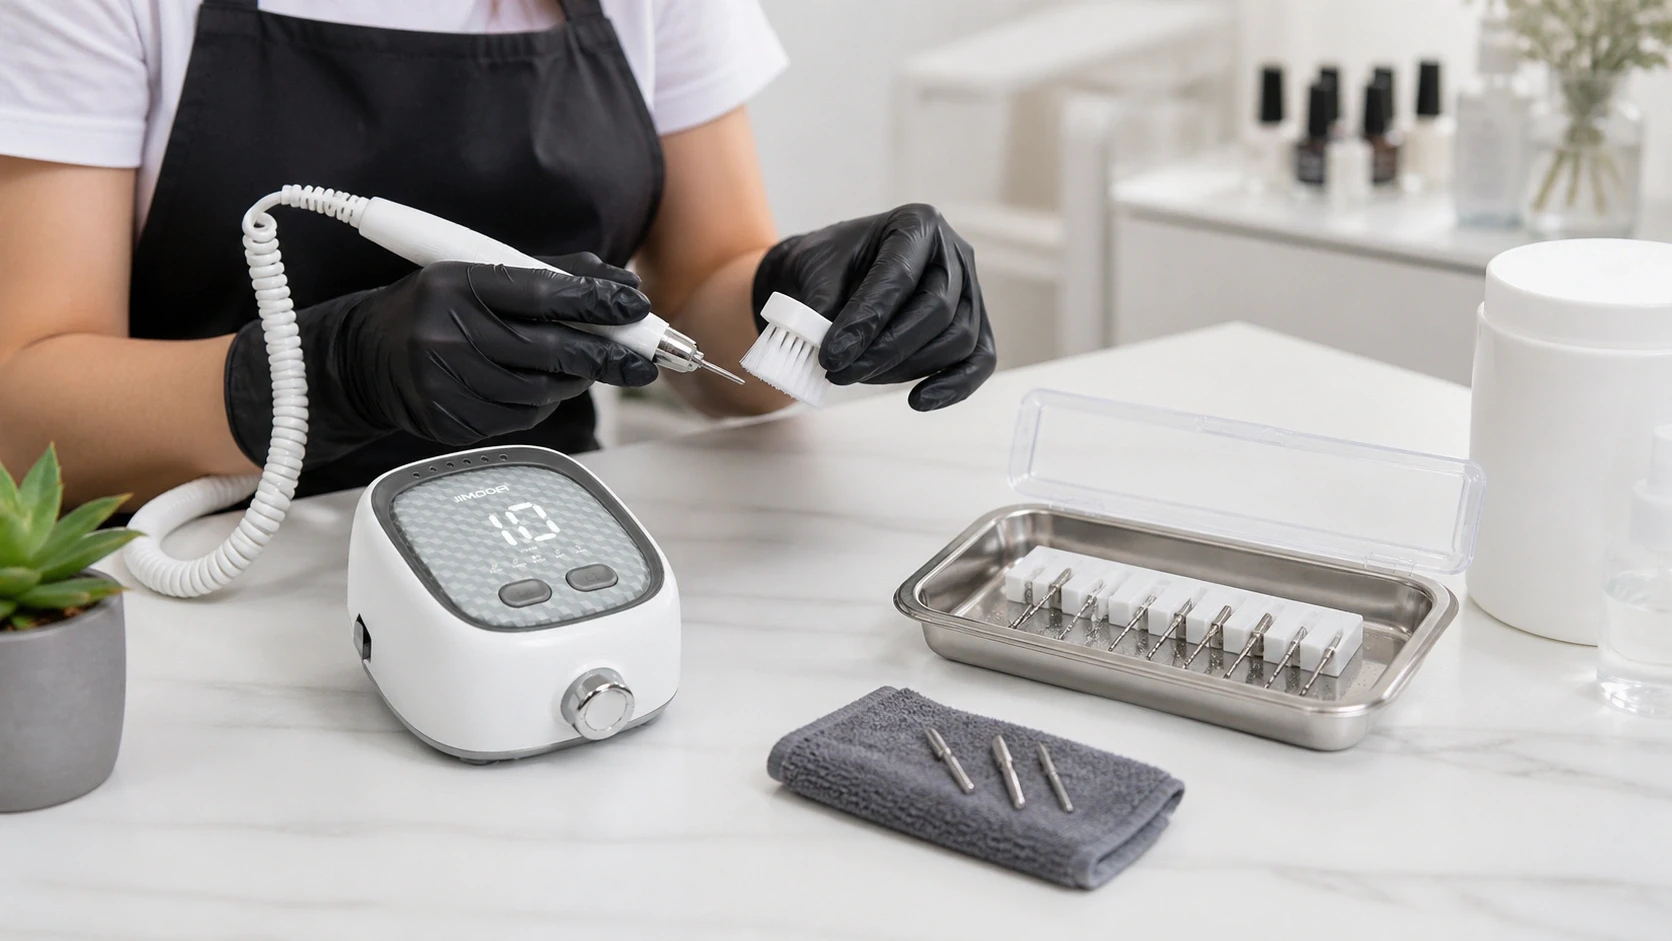
JMD-417 professional nail drill used beside a post-service nail drill bit cleaning tray.
A safer routine is:
- Turn off and unplug the drill.
- Remove and sort the attachments.
- Discard disposable sanding bands.
- Remove visible residue.
- Clean reusable bits with a compatible method.
- Disinfect according to the product label.
- Dry, inspect, and store them correctly.
Always follow the bit manufacturer’s instructions and the sanitation rules that apply in your location.
Reusable Bits and Disposable Attachments Are Not the Same
Before cleaning, identify what you are handling.
| Attachment | Correct care |
|---|---|
| Carbide, ceramic, or diamond bit | Clean and disinfect if the manufacturer allows reprocessing |
| Reusable mandrel | Remove the sanding band and clean the mandrel separately |
| Sanding band | Discard after use; do not reuse |
| Foam, felt, paper, or porous attachment | Follow the product’s single-use instructions |
| Electric handpiece | Wipe and brush only; never submerge it |
A reusable mandrel does not make a used sanding band reusable. Sanding bands are porous and can retain contamination even when the surface appears clean.
How to Clean Nail Drill Bits After Every Service
1. Power down before removing the bit
Switch off the drill and unplug it where applicable. Never remove or clean a bit while the handpiece is running. Use the handpiece’s proper release mechanism instead of forcing the bit out.
2. Separate dirty, clean, and disposable items
Place reusable bits in a clearly marked “to be cleaned” tray. Put used sanding bands and other disposable attachments directly into a waste container. Keeping dirty and clean tools separate prevents accidental reuse.
3. Remove visible dust and product residue
Use a suitable nail drill bit brush to clean the flutes, grooves, and edges. For stubborn acrylic or gel residue, acetone may help with some compatible metal bits, but it is not a disinfectant.
Some state regulations allow metal bits to be cleaned with a brush, ultrasonic cleaner, or acetone for 5–10 minutes before disinfection. This is a local rule example, not a universal timer. Always check the bit material, coating, product label, and local requirements.
Need a professional nail drill for consistent salon work? Explore the JMD-417 Professional Brushless Nail Drill or request a sample for your market.
4. Use an ultrasonic cleaner when appropriate
An ultrasonic cleaner can help loosen residue in small grooves and hard-to-reach areas. Use only a compatible cleaning solution and place detachable bits in the cleaner—not the electric handpiece.
Ultrasonic cleaning removes debris, but it does not automatically complete the disinfection process.
5. Disinfect according to the label
After visible residue has been removed, use a disinfectant approved for the intended tool or instrument. If the bit is approved for immersion, fully submerge it and follow the required dilution and contact time.
The Occupational Safety and Health Administration lists washing, scrubbing, soaking in an appropriate disinfectant, rinsing, drying, and covered storage as common salon tool-care steps. The suggested 10–30 minute range is not a universal rule; the disinfectant label and local regulations control the actual time.
The Environmental Protection Agency defines contact time as the period the treated surface must remain visibly wet. Wiping the disinfectant away too early can reduce its effectiveness.
6. Rinse and dry completely
Rinse only when required by the disinfectant label or local sanitation rules. Dry each bit fully with a clean, lint-free towel or allow it to air-dry in a clean area.
Damp storage can contribute to rust, corrosion, and recontamination.
7. Inspect before storage
Do not return a bit to service simply because it has been cleaned. Look for:
- Rust or pitting
- A bent shank
- Cracks or chips
- Loose diamond coating
- Flattened carbide flutes
- Unusual wear or damage
Cleaning removes residue; it does not repair a damaged cutting surface.
Material-Specific Nail Drill Bit Maintenance
Carbide bits should be kept free of product buildup inside the cutting flutes. If the flutes become dull, the bit may require more pressure and generate more heat.
Diamond bits need careful brushing so the abrasive coating is not damaged. Avoid aggressive scraping unless the manufacturer specifically recommends it.
Ceramic bits should be protected from drops and impacts. Even a small crack can affect safety during high-speed use.
For mandrels, remove the used sanding band after every service. Process the mandrel according to its instructions and use a fresh band for the next client.
Do Not Forget the Electric Handpiece
The handpiece is not cleaned in the same way as a removable metal bit. Never immerse the motorized handle, controller, power cable, or foot pedal unless the manufacturer expressly permits it.
After each service:
- Wipe the exterior with an approved cleaner.
- Brush dust from the chuck area and vents.
- Keep liquid away from openings.
- Clean the dust collector and workstation.
- Do not add oil unless the equipment manual requires lubrication.
A stable handpiece also supports better nail drill bit maintenance. For professional equipment such as the Jimdoa JMD-417 Professional Brushless Nail Drill, precision chuck alignment, consistent torque, speed visibility, and overload protection help technicians avoid excessive pressure and unnecessary heat during filing. These are important features when selecting professional equipment for a salon or distribution market.
When Should You Replace a Nail Drill Bit?
There is no single replacement schedule that suits every technician. Replace a bit when it:
- Vibrates or wobbles
- Feels unusually hot
- Pulls or grabs during use
- Requires more pressure than before
- Has visible rust, cracks, chips, or coating loss
- No longer cleans properly
A dull bit can make a service slower and less comfortable. Replacing it is often safer and more cost-effective than forcing it to perform.
Common Mistakes to Avoid
Do not place a dirty bit directly into disinfectant, reuse sanding bands, treat a UV storage box as a sterilizer, soak the handpiece, or shorten the disinfectant’s contact time.
The goal of nail drill bit maintenance is a complete workflow: remove contamination, use the correct reprocessing method, dry thoroughly, inspect carefully, and store clean tools separately from used ones.
Frequently Asked Questions
Can I use acetone to clean nail drill bits?
Acetone can help remove acrylic or gel residue from some compatible metal bits, but it does not disinfect them. Check the bit manufacturer’s instructions before soaking, especially if the bit has a special coating or finish.
Can sanding bands be reused?
No. Sanding bands are porous, single-use attachments. Discard them after each service and use a new band for the next client. Cleaning the reusable mandrel does not make the used band safe to reuse.
Is a UV sterilizer enough for nail drill bits?
Usually not. A UV box may be used for storing clean tools, but it should not replace debris removal, labeled disinfection, or required sterilization.
How often should I clean nail drill bits?
Reusable bits should be cleaned and processed after every client or personal use. Inspect them regularly for rust, cracks, coating loss, vibration, or excessive heat.
Can I soak the electric handpiece?
No. Unless the manufacturer specifically permits it, wipe the handpiece, cord, chuck area, and vents instead of immersing them in liquid.
Final Takeaway
Clean nail drill bits are safer, work more smoothly, and are easier to maintain. The most reliable routine is simple: sort, remove residue, clean, disinfect, dry, inspect, and store.
For salons, distributors, and private-label brands looking for reliable nail drill systems, Jimdoa and Nail Master support sample orders, flexible MOQs, OEM/ODM customization, logo and color options, fast prototyping, one-year warranty service, and responsive technical support. Contact the team to request a sample, discuss flexible MOQs, or start an OEM/ODM nail drill project for your market.